Naming your post type
By default the post type is called Notes, but you can name it anything you like, plus you can also change the icon.
To change the name and icon you need to add a few lines to your sites’ wp-config.php file. Don’t worry if you haven’t changed this file before, it’s easy to do.
How to add the settings to wp-config.php
01 Connect to your website using an FTP client
If you don’t have an FTP client, here are 2 that are available for free:
- https://cyberduck.io (Windows and Mac)
- https://filezilla-project.org (Windows and Mac)
You’ll need your server IP address, SFTP username & password, and port number, which you can get from your web host.
02 Open the wp-config.php file
The wp-config.php file is usually located in the root folder of your website with other folders like /wp-content/. Right click on the file and then select download from the menu.
03 Update the wp-config.php file
Add the following 3 lines to the wp-config.php file:
define( 'EN_P_T_NAME', 'ADD NAME HERE' );
define( 'EN_P_T_S_NAME', 'ADD SINGULAR NAME HERE' );
define( 'EN_P_T_ICON', 'ADD ICON HERE' );
Note: You can choose which lines to include, for example if you only want to change the icon, then only include that line.
Replace ‘ADD NAME HERE’ with the name you want to use, for example ‘Documents’. This should be the plural name (you add the singular name next).
Replace ‘ADD SINGULAR NAME HERE’ with the singular name, for example ‘Document’.
Replace ‘ADD ICON HERE’ with the name of the icon you want to use. Choose an icon from here: https://developer.wordpress.org/resource/dashicons/, copying the name that starts dashicons-. The icon will then display in the left sidebar.
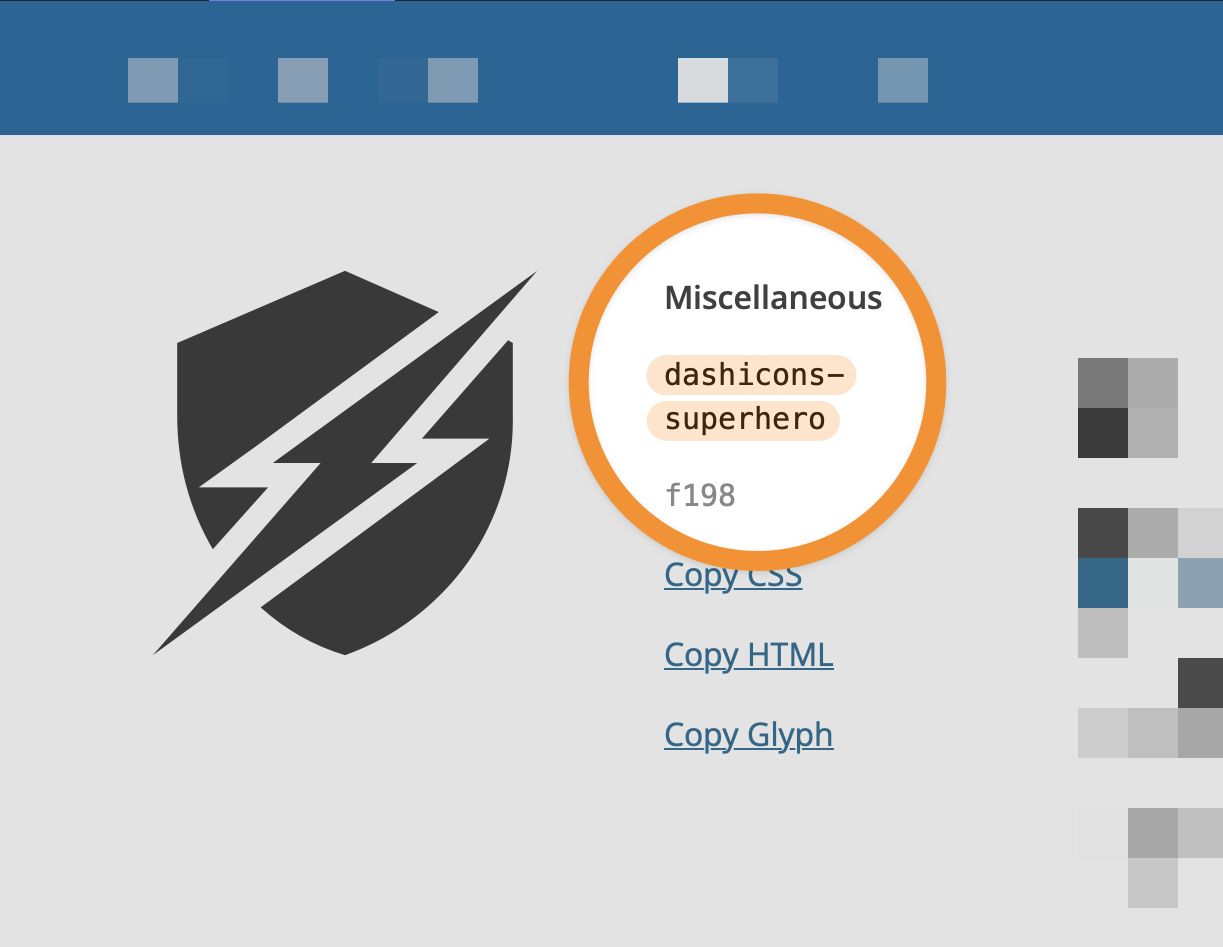
dashicons-, so in the image above it will be dashicons-superhero